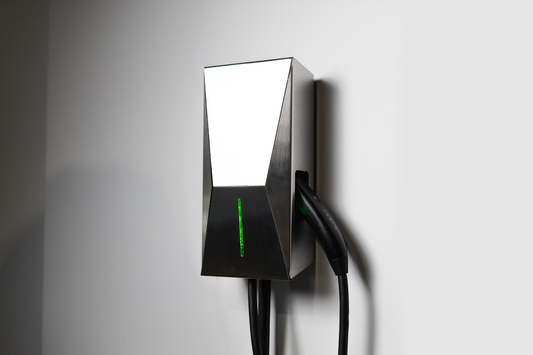
Installing the CyberCover is very easy. It is a direct replacement for the original Tesla faceplate that comes on your Tesla Gen 3 and Teska Universal wall connector.
First, if you haven't already, you'll need to switch off the power to your unit. Find your breaker and flip that sucker off!

Now, you can unscrew the 4x 4mm hex screws holding the charger onto the wall mounted bracket.


Once the charger assembly is removed from the wall, we can remove the faceplate.

Simply remove the 2 T10 Torx screws from the bottom of the assembly.

Now you can pull up and away from the faceplate to remove the faceplate from the tabs on the upper portion of the faceplate.

With the CyberCover laying face down, we can install the Tesla unit into the faceplate. First angling the top into the clips before letting the bottom down onto the mounting posts.


Next, we can re-install the 2x T10 screws that secure the unit to the faceplate.

Finally, we can re-mount the unit to the wall mount using the 4x 4mm hex screws from the original.


You're all set!


